Most indie filmmakers think they need expensive lights to make their scenes look cinematic. That’s a myth. The best lighting in film history wasn’t bought at a gear store-it was borrowed from the sun. Natural light cinematography isn’t just a budget trick. It’s a craft that shapes mood, depth, and emotion in ways artificial lights can’t replicate. If you’ve ever watched a scene where the light feels alive-like it’s breathing with the actors-you’re seeing the work of someone who understands golden hour, negative fill, and bounce light.
Golden Hour: The Magic Window
Golden hour isn’t just a pretty term. It’s the 60 to 90 minutes after sunrise and before sunset when the sun sits low in the sky, casting soft, warm light that wraps around faces and landscapes like silk. This isn’t a suggestion-it’s a rule. If you shoot outside during golden hour, your skin tones look richer, shadows are gentle, and highlights don’t blow out. You don’t need to adjust your white balance. You don’t need to tweak contrast in post. The light does the work for you.
On a shoot in rural Oregon last year, a director told me he only had two hours to capture his entire exterior sequence. We started 45 minutes before sunset. By the time the sun dipped below the tree line, we’d shot 12 setups. The footage looked like it was lit by a 12K HMI, but it cost nothing. That’s the power of golden hour. It’s not just about color temperature-it’s about direction. The low angle creates long, natural shadows that add dimension. It turns flat fields into layered compositions. It turns a simple walk down a path into a moment that feels timeless.
Pro tip: Use a light meter or your camera’s histogram to track exposure. The light changes fast. One minute you’re at f/4, the next you’re at f/5.6. Don’t wait until your highlights are clipped to realize you missed the window.
Negative Fill: Controlling the Darkness
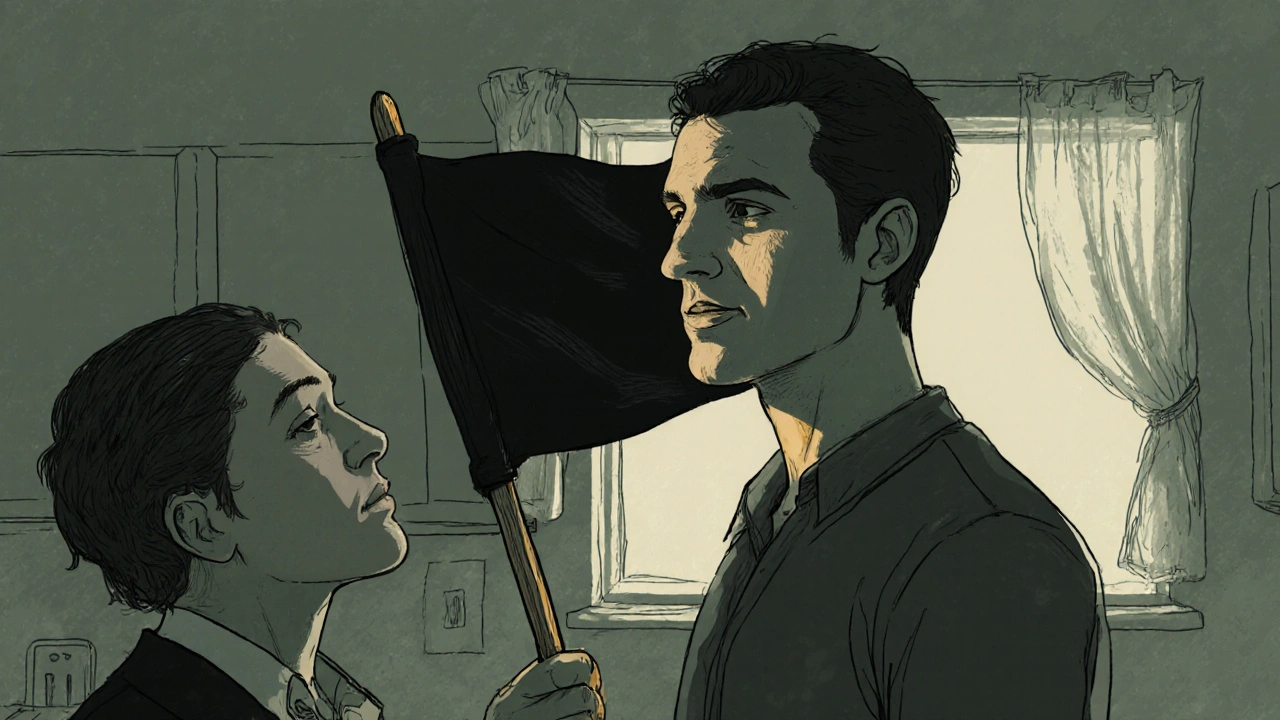
Light isn’t just about adding brightness. It’s about removing the wrong kind of light. That’s where negative fill comes in. It’s not a tool. It’s a technique. You use black flags, foam core, or even a black blanket to block stray light from hitting the shadow side of your subject. This deepens shadows, increases contrast, and gives your image more punch.
Imagine a scene shot on a cloudy day. The light is even, beautiful-but flat. Everyone’s face looks the same. No drama. No tension. That’s where negative fill saves you. Place a 4x4 black flag on the side of the actor’s face opposite the sun. Instantly, the shadows deepen. The cheekbone pops. The eyes become more intense. You’ve added dimension without adding a single lamp.
On a low-budget horror short in 2024, the crew didn’t have a single reflector. But they had a roll of black fabric and a few wooden stakes. They rigged negative fill behind the couch where the protagonist sat. The result? A look that resembled a $50,000 studio setup. The shadows didn’t feel dark-they felt intentional. That’s the difference between lighting and controlling light.
Don’t overdo it. Negative fill isn’t meant to make your scene look like a noir film. It’s meant to give you control. Test it. Move the flag closer. Pull it back. Watch how the transition from light to shadow changes the emotion. A subtle shift can turn a sad moment into a haunting one.
Bounce Light: Redirecting the Sun
When the sun hits a wall, a white car, or even a sheet of foam core, it doesn’t disappear. It bounces. And that bounce can be your best friend. Bounce light softens harsh shadows, fills in dark areas, and creates a natural-looking fill without introducing artificial sources.
Most beginners think they need a reflector to bounce light. Not true. A white wall, a parked SUV, a piece of poster board, even a bedsheet taped to a doorframe-any of these can redirect sunlight. The key is positioning. Place your bounce surface opposite the sun, angled to catch the light and throw it back onto your subject’s face. You’re not creating light. You’re stealing it from the environment and giving it back where it’s needed.
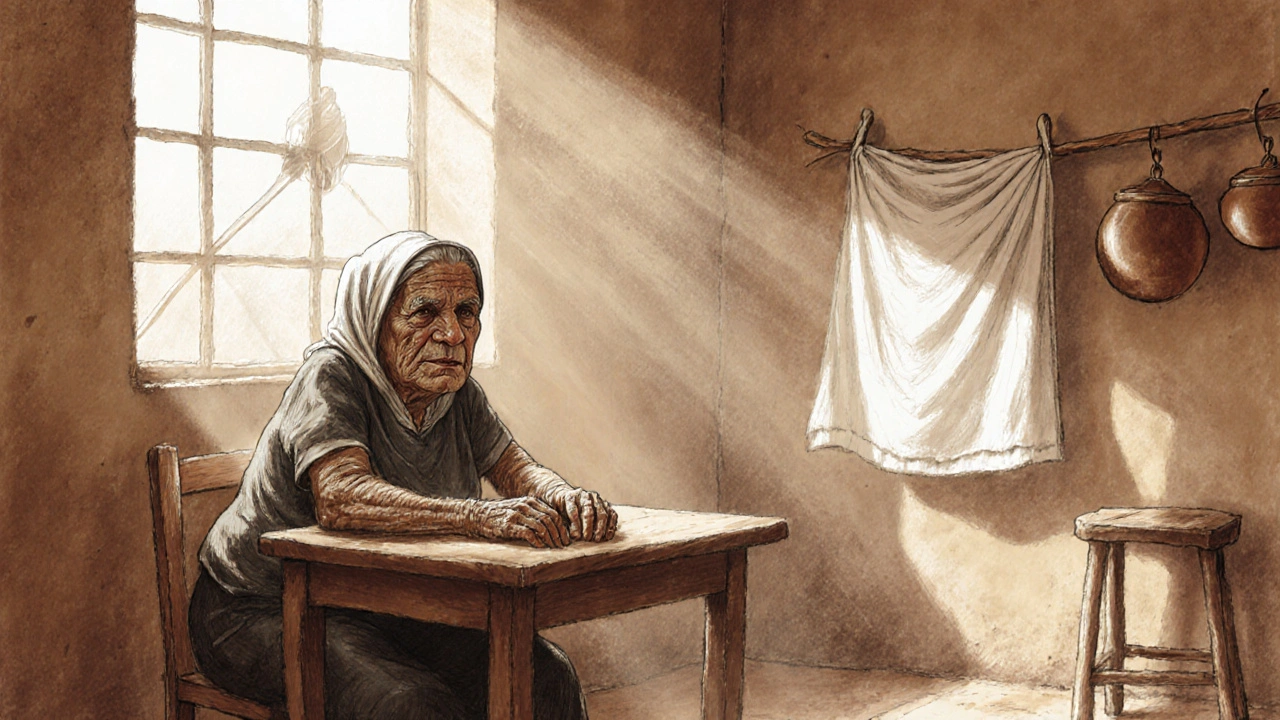
On a documentary shoot in Mexico City, we were filming an elderly woman in her kitchen. The sun came in through a single window, casting a hard shadow across her face. We didn’t have a 12-foot reflector. We had a white curtain from her laundry line. We pinned it to the opposite wall. The result? A soft, even glow on her skin that made her wrinkles look like stories, not flaws. The crew didn’t even need to change the camera settings.
White bounce gives you a neutral fill. Silver bounce adds a bit of punch-more contrast. Gold bounce warms the light, perfect for golden hour. But you don’t need expensive gear. A piece of aluminum foil taped to cardboard can mimic silver. A white bedsheet works as well as a $300 reflector. The tool doesn’t matter. The understanding does.
Putting It All Together: A Real-World Scenario
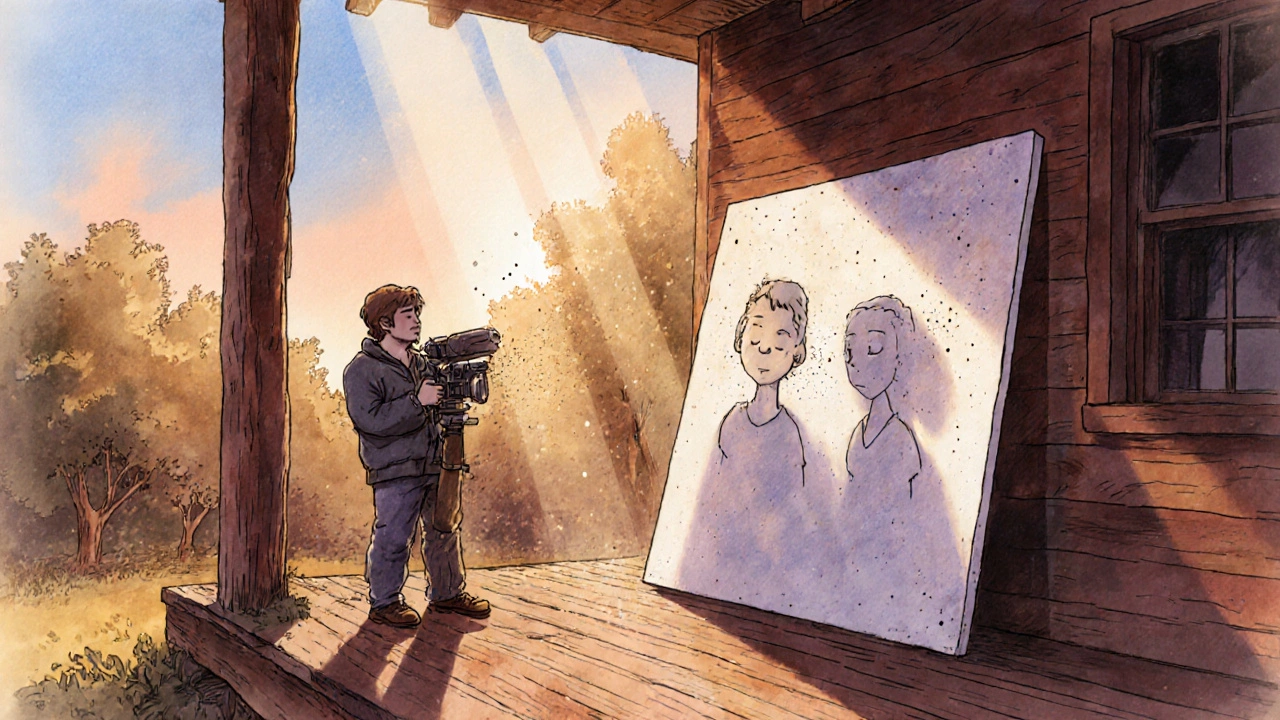
Let’s say you’re shooting a quiet morning scene: two characters talking on a porch at dawn. Here’s how you’d use all three techniques in sequence.
- Golden hour: Start shooting 30 minutes before sunrise. The light is cool and soft. Use it to establish the mood. The sky is still blue, but the sun is starting to kiss the horizon.
- Bounce light: As the sun rises, the light hits the left side of their faces. You place a white foam core board on the right side, angled to catch the sun and reflect it back. Now both faces are evenly lit. No harsh shadows. No squinting.
- Negative fill: You notice the background behind them is too bright. It’s pulling focus away from their faces. You hang a black flag on the right side of the frame, just out of shot, to block ambient light from hitting their shadow side. Instantly, the contrast increases. Their expressions become more powerful.
You didn’t use a single electric light. You didn’t need a generator. You didn’t need a crew of five. You just used what was already there-and shaped it.
Common Mistakes and How to Avoid Them
Even experienced shooters mess up natural light. Here are the three most common errors:
- Waiting too long to shoot: Golden hour lasts less than an hour. If you’re setting up lights, you’re already behind. Scout your location the day before. Mark your angles. Know where the sun will rise and set.
- Ignoring the environment: A white wall isn’t just a wall-it’s a reflector. A dark fence isn’t just a fence-it’s a negative fill. Learn to see your location as a lighting kit.
- Over-bouncing: Too much bounce light kills contrast. It flattens your image. If your subject looks like they’re lit by a studio ceiling, you’ve gone too far. Less is more.
One filmmaker I know shot an entire feature using only natural light. He kept a notebook: daily sunrise/sunset times, cloud cover forecasts, and the exact position of his favorite bounce surfaces. He didn’t have a DP. He had a calendar and an eye.
When Natural Light Isn’t Enough
Let’s be real: sometimes the sun doesn’t cooperate. Clouds roll in. Rain cancels your shoot. That’s when you need to know the difference between working with natural light and being trapped by it.
If you’re stuck indoors, open all the windows. Use white curtains as diffusers. Place your subject near a window, not in front of it. If you need to add a little fill, use a low-watt LED panel-set to 3200K, dimmed to 10%. You’re not replacing the sun. You’re just nudging it.
Never turn on a hard light to match daylight. It looks fake. It looks like a TV commercial. Natural light has texture. It has movement. Artificial light that tries to copy it always fails. Better to embrace the gloom than force a fake sun.
Why This Matters Beyond the Frame
Natural light cinematography isn’t just about saving money. It’s about authenticity. Audiences feel it. When the light feels real, the emotion feels real. A character crying in golden hour light isn’t just crying-they’re grieving in a world that still glows. A quiet moment lit only by bounced sunlight doesn’t feel staged. It feels lived-in.
Look at the films that endure: The Revenant, Manchester by the Sea, Boyhood. They didn’t use studio lights. They used the sky. They used the earth. They used time.
That’s the power of natural light. It doesn’t just illuminate. It remembers. It waits. It gives you the light you need-if you’re patient enough to listen.
What’s the best time of day for natural light cinematography?
The best times are golden hour-just after sunrise and just before sunset-when the sun is low and the light is soft and warm. Blue hour, right before sunrise or after sunset, also works for moody, cool-toned scenes. Avoid midday sun unless you’re using heavy diffusion or negative fill to control harsh shadows.
Can I use natural light indoors?
Absolutely. Open windows and use white curtains or sheets to diffuse harsh sunlight. Position your subject near the window, not directly in front of it. Use white walls or foam core to bounce light back onto shadowed areas. Even on cloudy days, overcast skies act as giant softboxes.
Do I need special gear for bounce and negative fill?
No. A white bedsheet, a piece of foam core, or even a car door can bounce light. A black flag can be made from black cloth, cardboard, or a blanket. Professional reflectors help, but they’re not required. Many indie films have been shot using only household items.
How do I know if I’m overusing bounce light?
If your subject’s shadows disappear and the image looks flat or washed out, you’ve bounced too much. Natural light thrives on contrast. Keep some shadows intact-they give depth. Test by stepping back and looking at the scene without your camera. If it looks too even, reduce the bounce.
Can I mix natural light with artificial light?
Yes, but carefully. Use artificial light only to gently fill shadows-not to match the sun. Set your LED to 5600K for daylight or 3200K for tungsten, and dim it low. Never overpower natural light. The goal is to enhance, not replace. If it looks like you turned on a lamp, you’ve lost the magic.